English
 Español
 Deutsch
 Français
 عربي
عربي
Solar Panel System Owners — What Do You Wish You Knew Before Installing?
Lesson 1: Don't Let "Dust" Eat Away Your Electricity Savings
This is the #1 piece of advice repeated by long-time system owners.
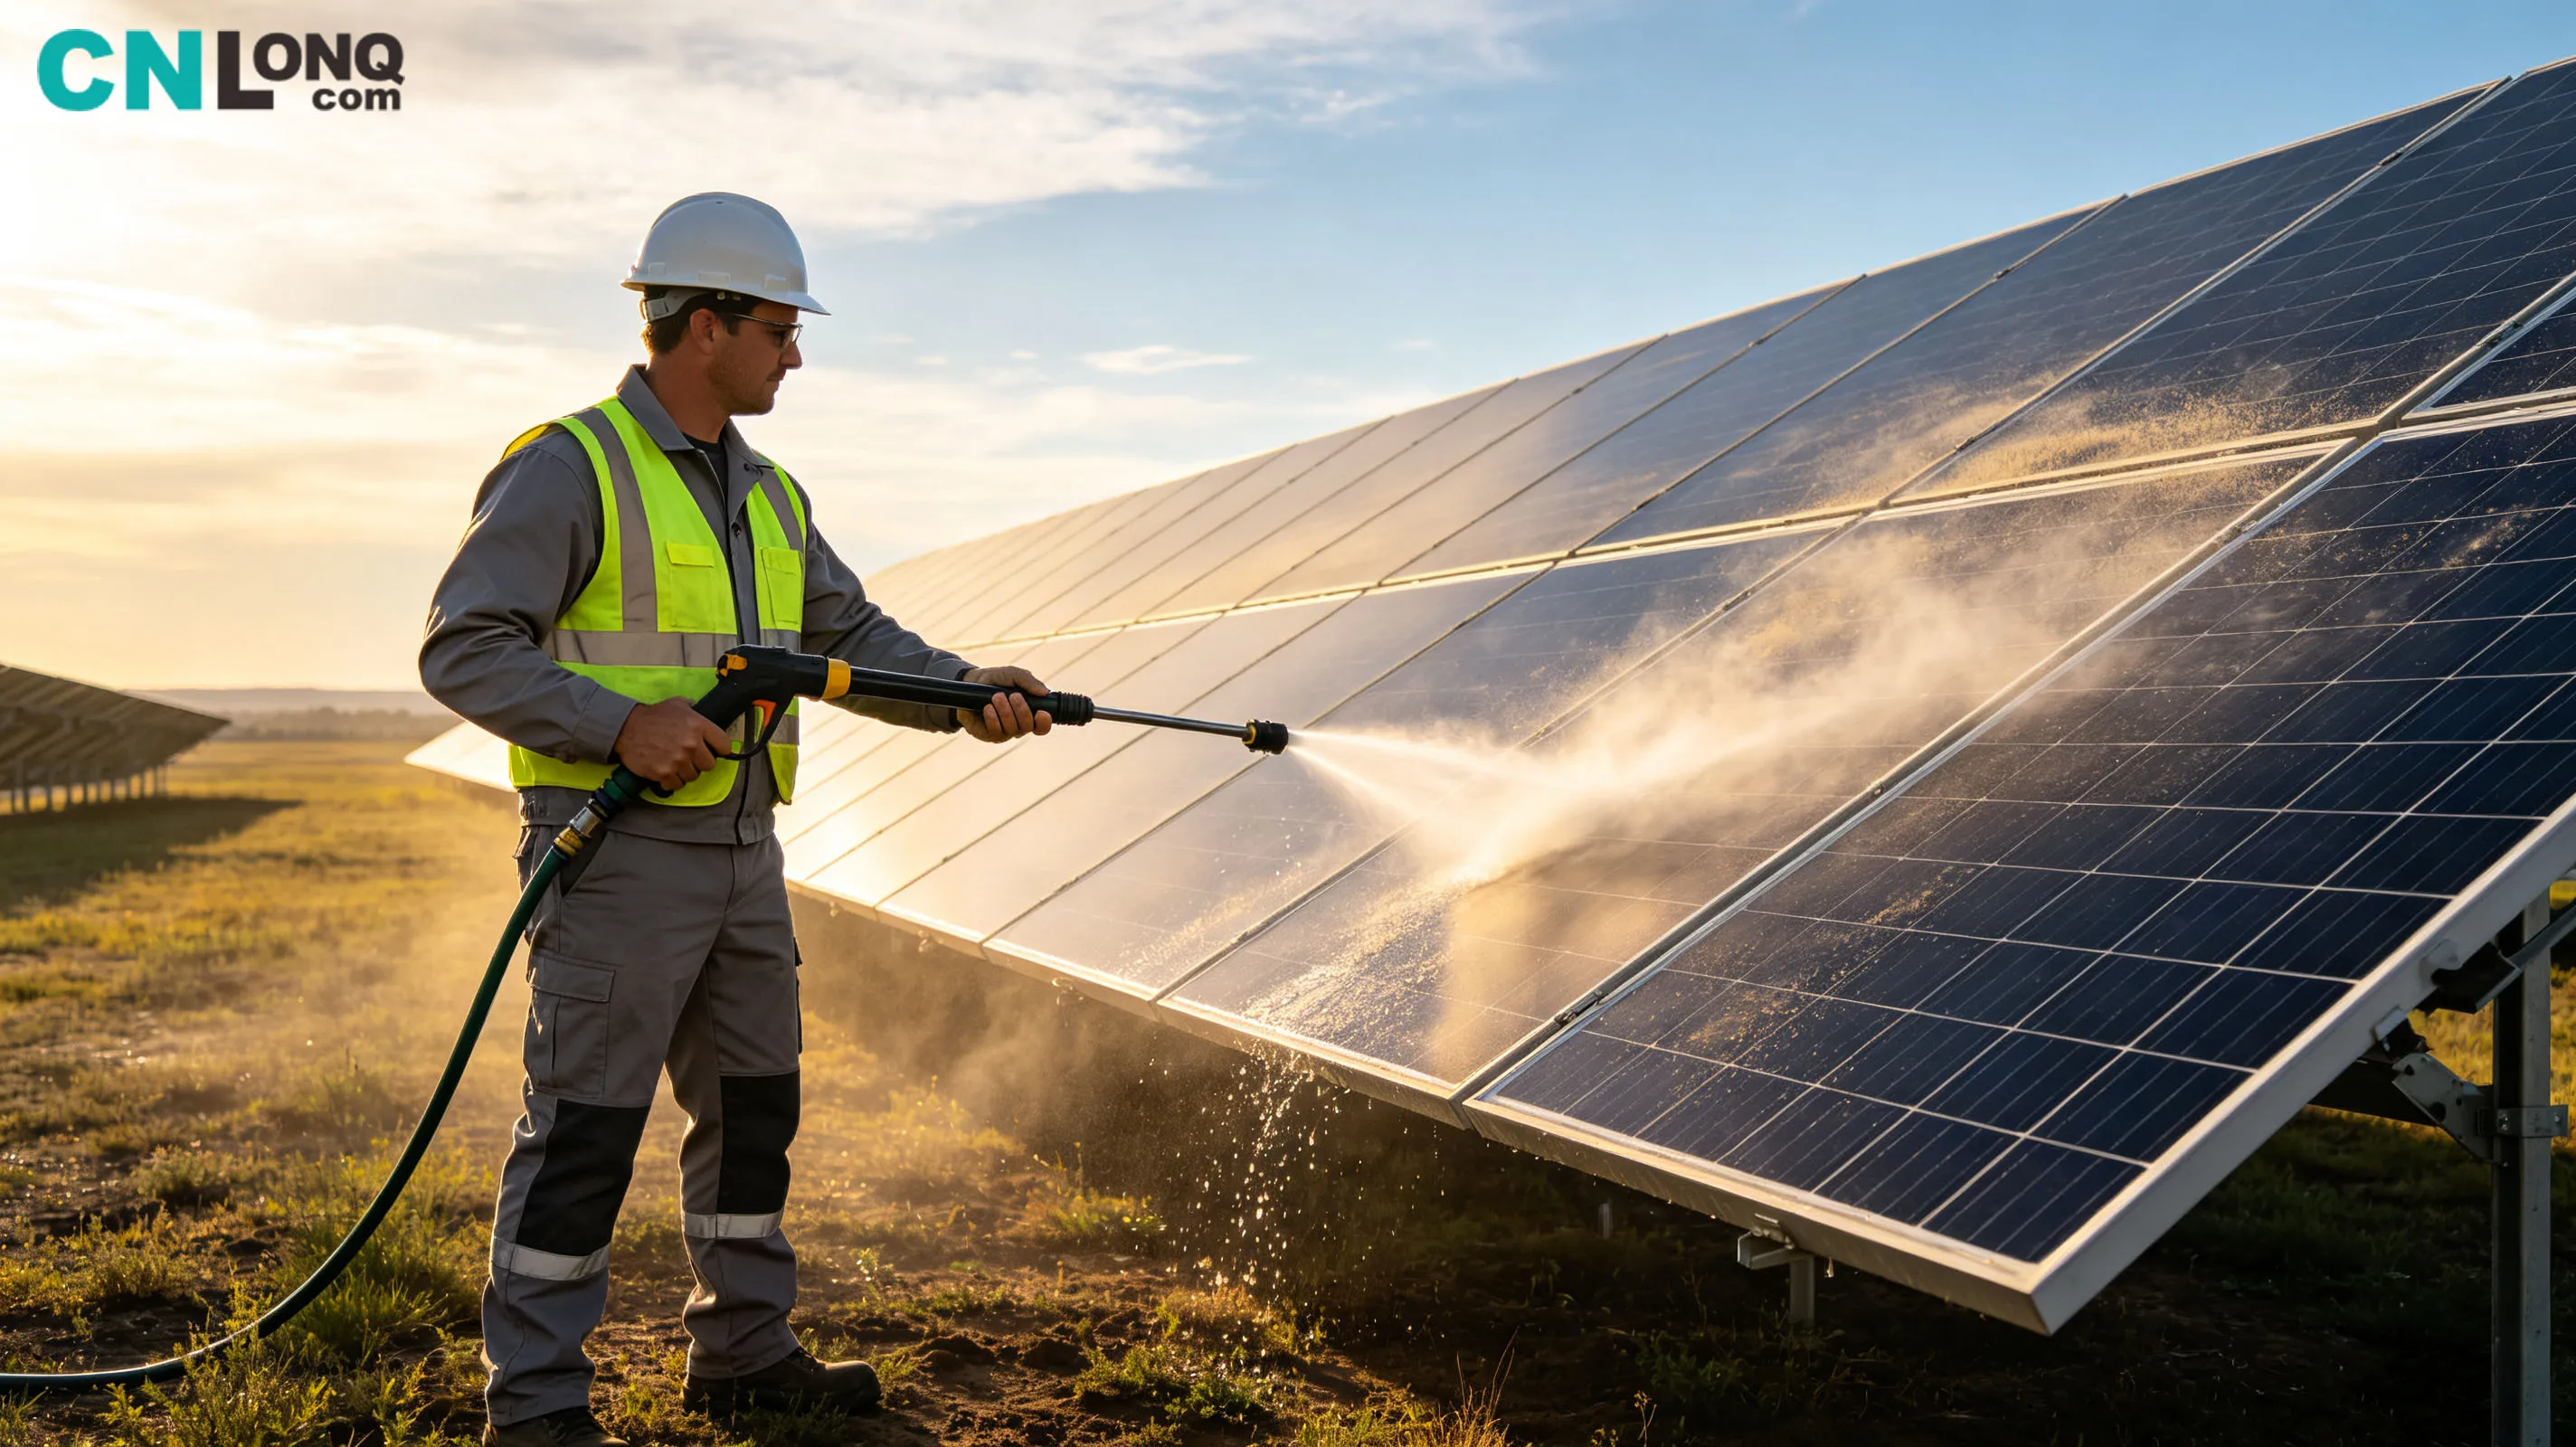
For the first three months after installation, watching your meter run backward feels great. But six months later, many notice their power generation has mysteriously dropped by 15%–25%. Their first reaction: "Is the inverter broken?" or "Are the panels degrading already?"
The answer is often far simpler — they're just dirty.
-
Bird droppings: Not only are they unsightly, but they are also highly acidic. If left uncleaned, they can permanently etch the glass surface and create "hot spots" that can burn out solar cells.
-
Industrial dust and vehicle exhaust: These fine particles mix with morning dew to form a cement-like film on the panel surface, blocking sunlight and significantly reducing efficiency.
-
Leaves and snow: Partial shading doesn't just reduce output — more critically, it can cause shaded cells to overheat and fail.
The seasoned owner's advice: Don't buy into the myth that "rainwater will keep your panels clean." Rain only washes dust to the bottom edge, where it accumulates into stubborn mud streaks. Regular cleaning (especially in spring and fall) offers the highest return on investment of any maintenance activity. If you have a flat roof or ground-mounted system, consider installing an automated cleaning robot.
Lesson 2: The "Invisible" Connections Are the Biggest Hidden Danger
Many beginners focus only on cracks in the solar panels — but overlook the DC connectors tucked away behind the mounting structure or inside the combiner box.
Here's a real case: A system owner noticed unusually low generation for a full week. Upon inspection, the technician found a loose MC4 connector caused by thermal expansion and contraction. The increased contact resistance not only wasted electricity — the connector had already blackened from overheating and nearly caused a fire.
Regular maintenance isn't about "fixing things" — it's about "defusing potential bombs."
-
Check whether mounting bolts are rusted or loose (especially critical in coastal areas).
-
Inspect the anti-reverse diodes and circuit breakers inside the combiner box.
-
Monitor string voltage readings on the inverter display — if one string shows significantly lower voltage, that branch has an issue.
Don't wait until the inverter throws an alarm. By then, a small problem has often escalated into a costly repair — replacing panels or even the inverter itself.
Lesson 3: The Four Core Components — Every One Matters to Your System's Fate
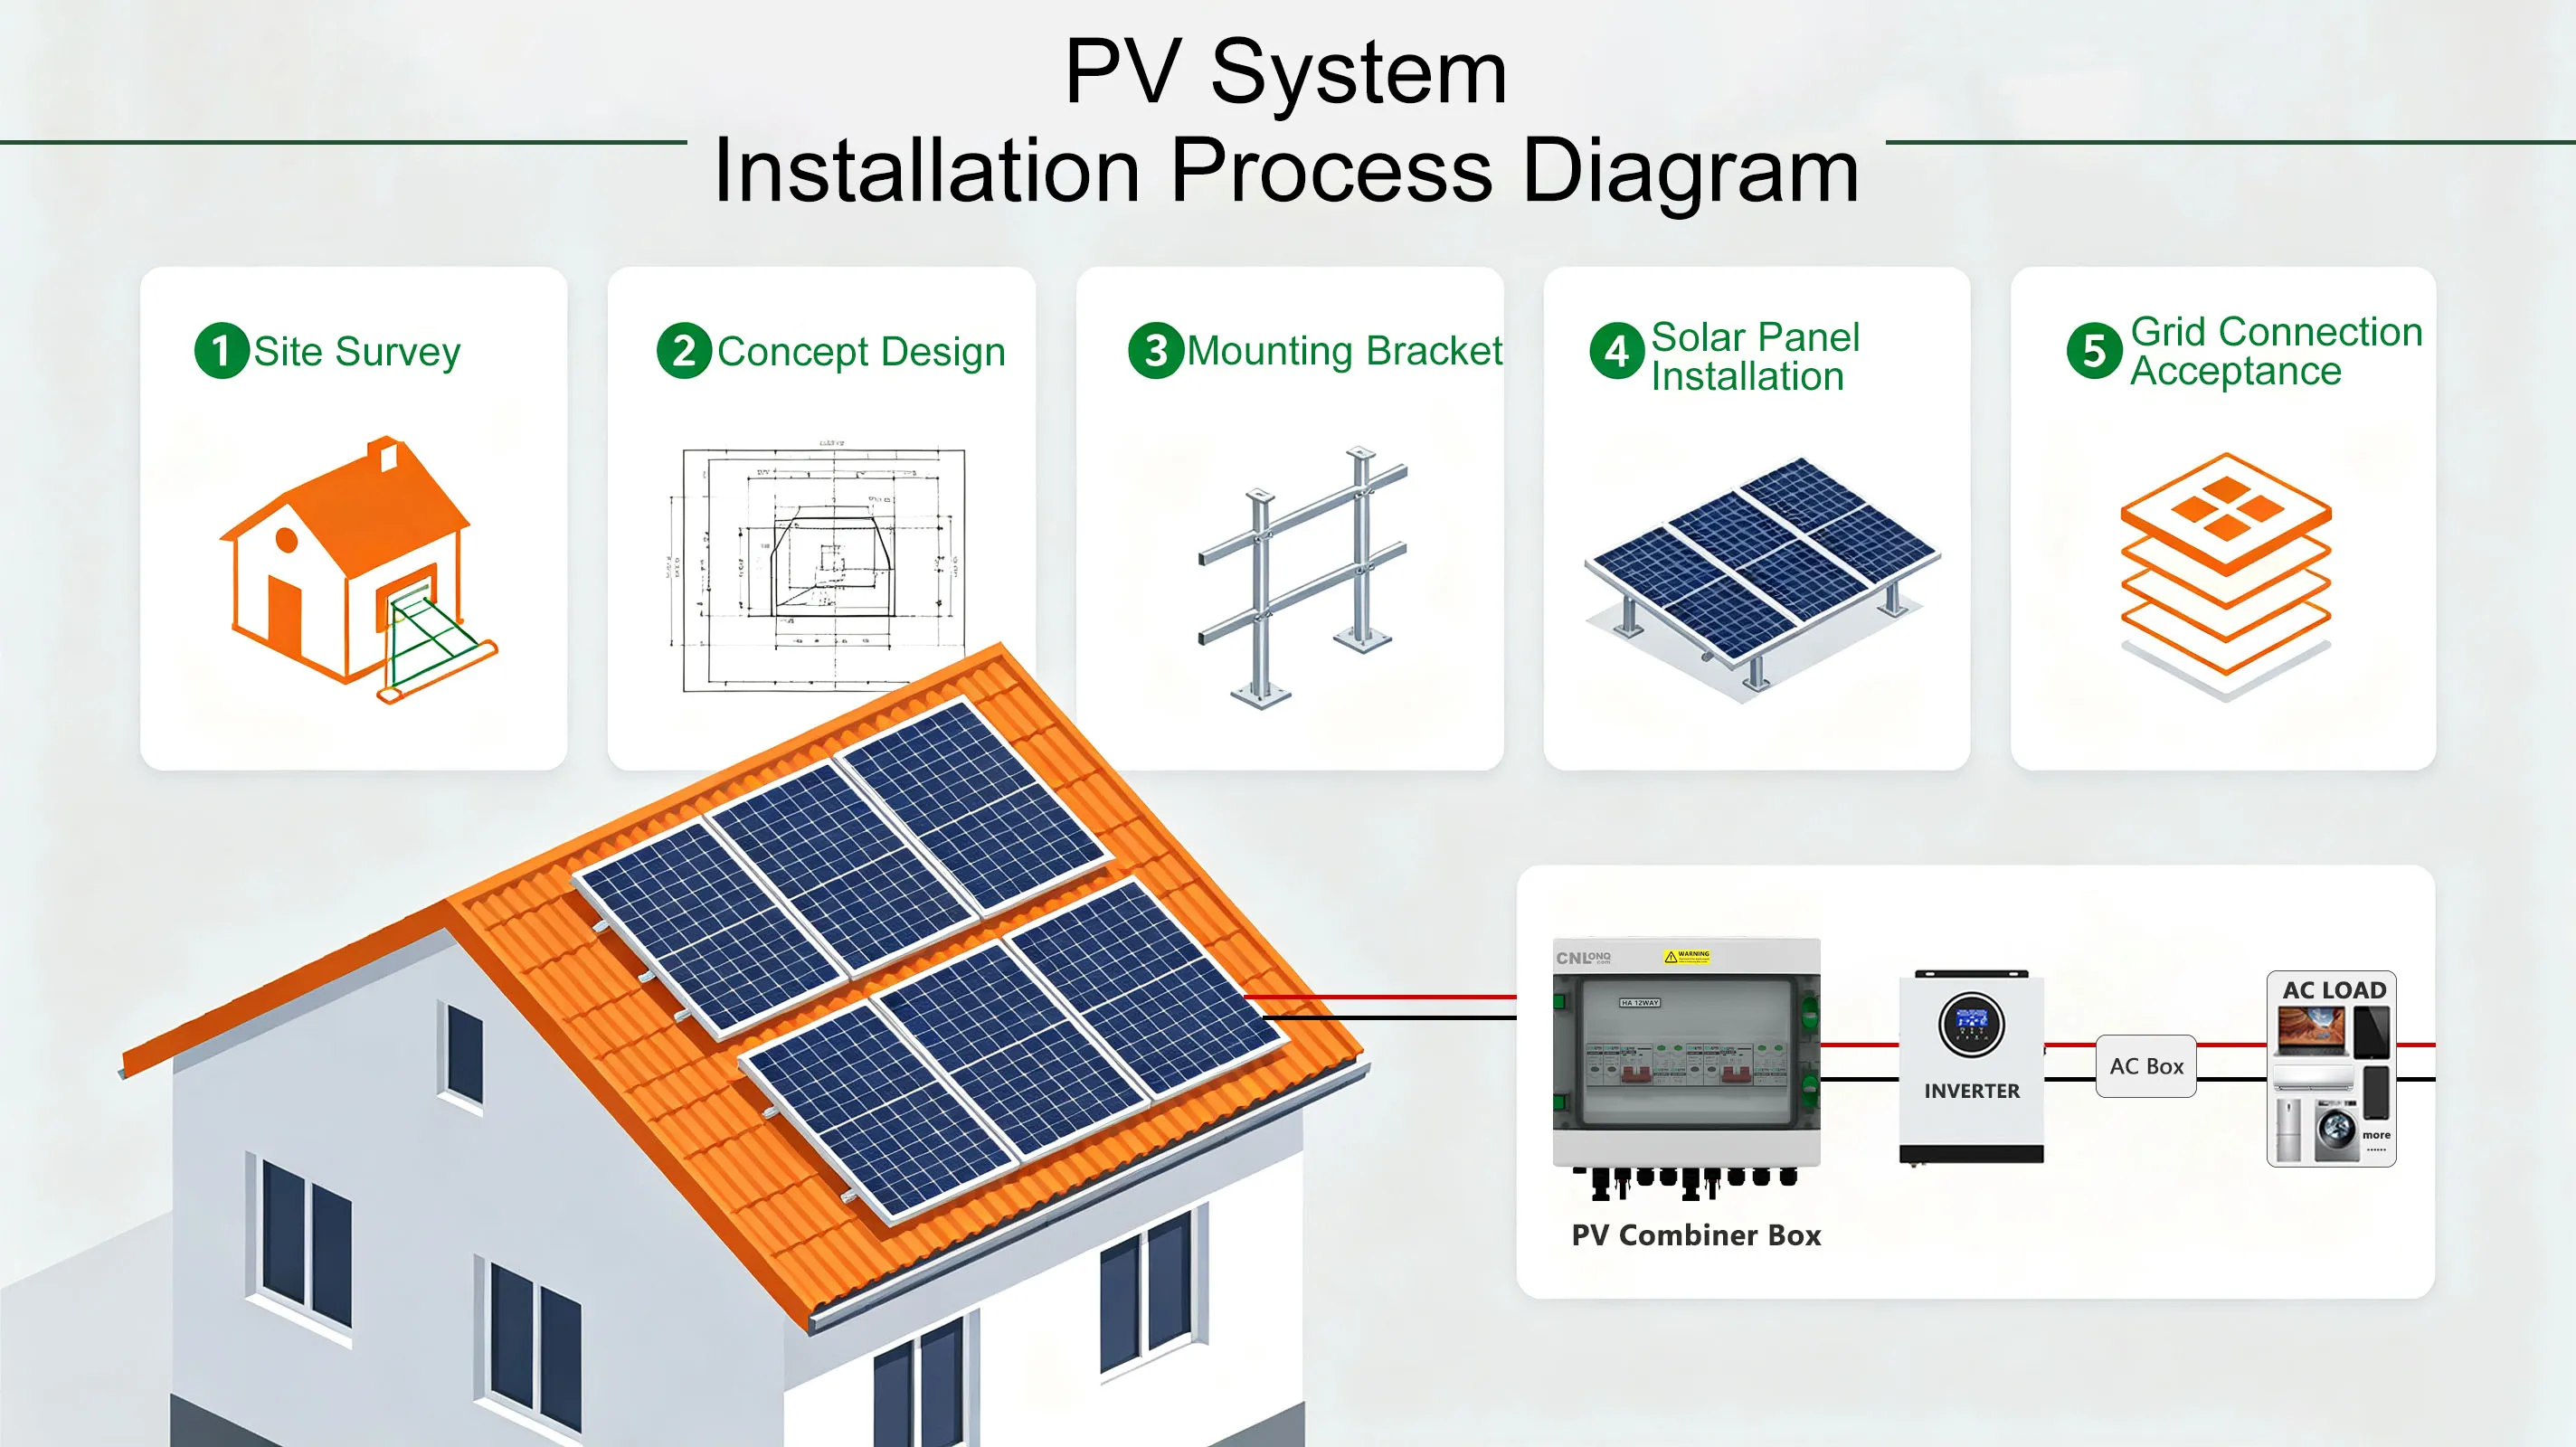
Many pitfalls are actually set during the selection and installation phase. Let's break down the four core components — mounting structure, solar panels, inverter, and combiner box — and show you how to avoid the traps.
🏗️ 1. Mounting Structure: Choosing the Right "Skeleton" for Your System
The mounting structure is the "skeleton" that supports the entire system. Material selection, type, and installation quality directly affect the system's lifespan and safety.
Material Comparison:
| Material | Advantages | Disadvantages | Best Application |
| Galvanized Steel | High strength, excellent load capacity, cost-effective | Less corrosion-resistant than aluminum; requires maintenance | Large ground-mounted systems, heavy snow/wind regions |
| Aluminum Alloy | Lightweight, excellent corrosion resistance, virtually maintenance-free | Higher initial cost | Rooftop projects, especially residential systems |
| Stainless Steel | Superior corrosion resistance and aesthetics | High cost, difficult to fabricate | Special harsh environments like coastal high-salt areas |
Conventional hot-dip galvanized steel can last over 20 years, while aluminum alloy — despite higher upfront cost — offers nearly zero long-term maintenance expense.
Common Structure Types:
-
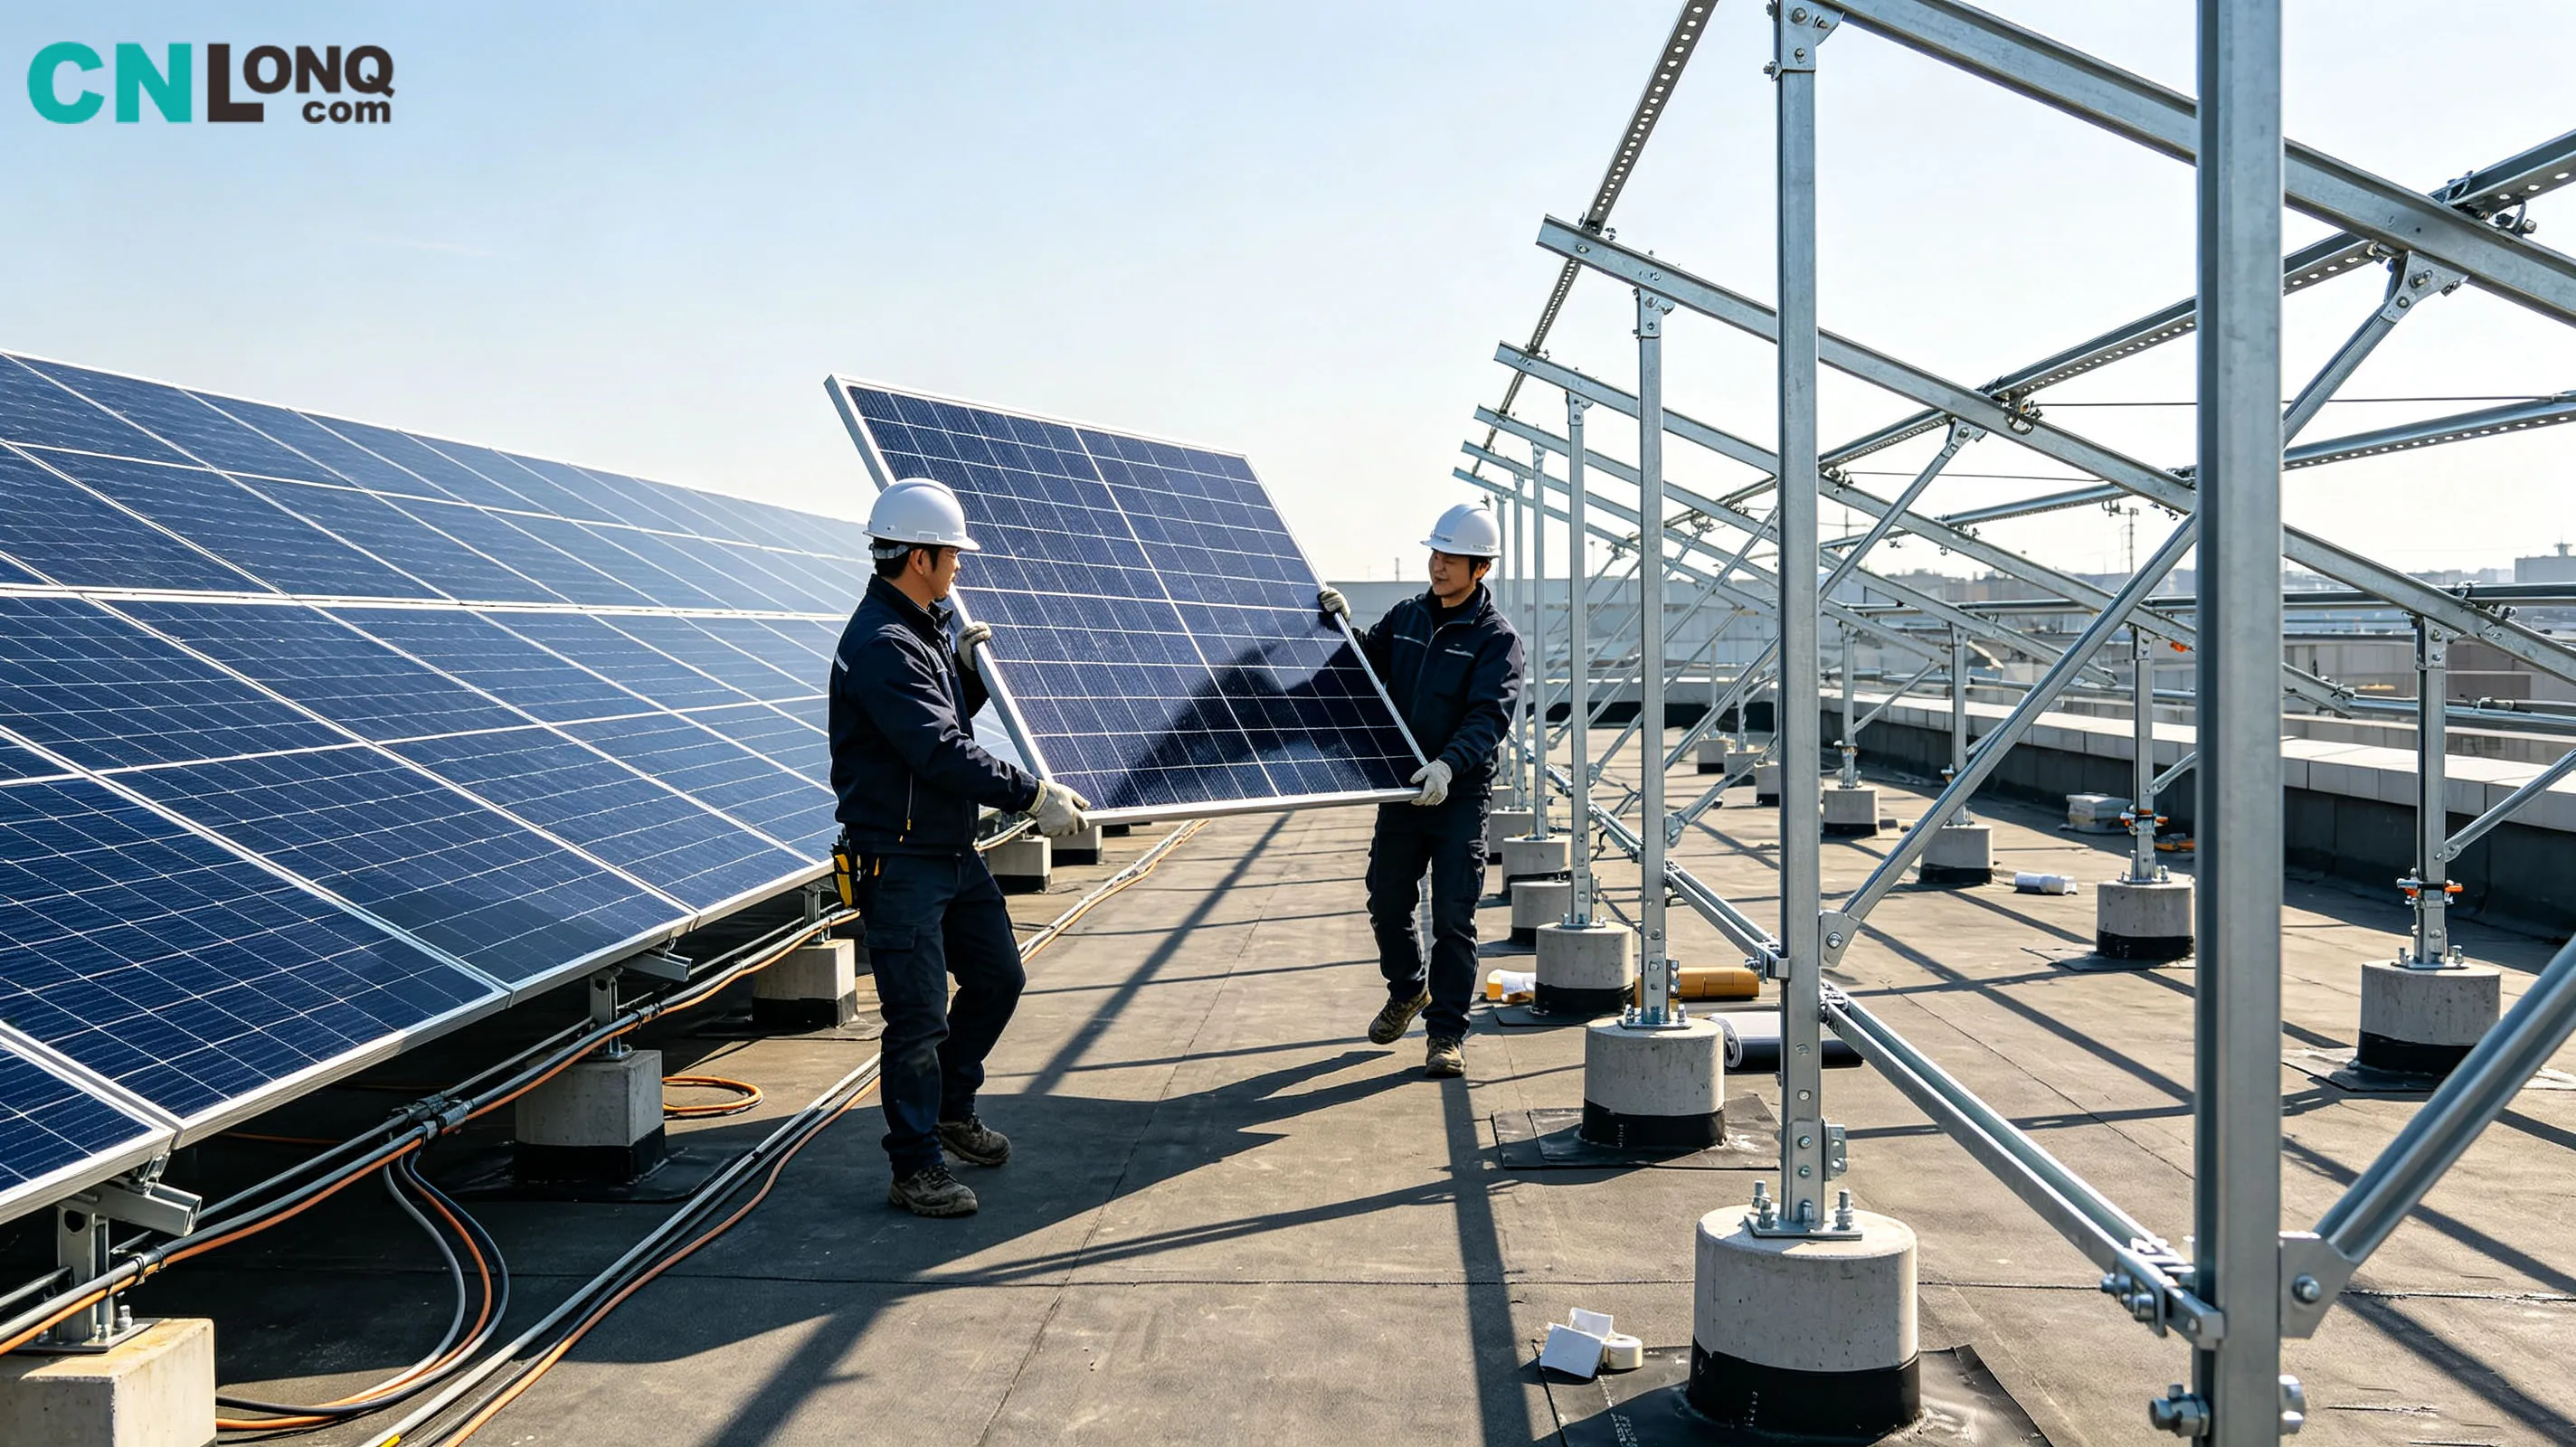
Rooftop Mounts: For flat roofs (concrete or waterproof membrane) and sloped roofs (metal standing seam or tile). Flat roofs often use concrete ballasts to avoid penetrating the waterproof layer; sloped roofs use specialized clamps or hooks for attachment.
-
Ground-Mounted Fixed Structures: Suitable for ground-based systems, using concrete foundations or driven piles (helical or impact) for secure anchoring — simple and cost-effective.
-
Tracking Systems: These follow the sun like sunflowers, boosting generation by 15%–25%. However, they are more expensive, mechanically complex, and require more maintenance.
Installation Essentials:
Use high-quality fasteners to ensure secure connections. For metal roofs, proper waterproofing is critical. Choosing a provider that offers site surveys and a 5–10 year warranty is especially important.
☀️ 2. Solar Panels: Get the Angle Right, and Generation Soars
The tilt angle (angle relative to the ground) and orientation of your panels are the key determinants of how much sunlight they'll capture.
How to Determine the Optimal Tilt Angle:
The ideal tilt maximizes annual solar radiation capture, and it's primarily a function of your local latitude:
-
Rule of thumb: Tilt angle ≈ local latitude. For latitudes between 26° and 40°, tilt ≈ latitude 5° to 10°.
-
Precise calculation: For the exact optimum, use professional software like PVsyst with local meteorological data to run simulations.
Choosing the Right Orientation:
In the Northern Hemisphere, true south generally receives the most sunlight year-round. But real-world design must adapt — for instance, if your roof space is limited, you might choose a slightly shallower angle to fit more panels, trading a small per-panel loss for higher total system capacity and overall returns.
One Practical Tip:
For concrete flat roofs, a tilt angle >10° is recommended. This allows rainwater to naturally wash away dust, achieving a "self-cleaning" effect and reducing manual cleaning frequency.
⚡ 3. Inverter: The "Heart" of Your System — Installation Precision Matters
The inverter converts the DC power generated by your panels into usable AC power. Its installation environment directly impacts efficiency and operational lifespan.
Location:
Always choose a cool, dry, and well-ventilated area — absolutely avoid direct sunlight and moisture. Heat is the inverter's number one enemy: for every 10°C rise in temperature, lifespan may be cut in half, and the unit will derate output under high heat.
Mounting Height and Clearance:
Install at a height of 1.5 to 2 meters for easy monitoring and operation. Ensure adequate clearance for heat dissipation — for example, maintain at least 600mm below (air intake) and 400mm above or to the side (air exhaust).
Wiring Safety:
This must be performed by qualified professionals. Use cables rated for your system's voltage and current, ensure all connections are torqued properly, and — most critically — establish a reliable ground connection. This is the foundation of shock and lightning protection.
🔌 4. Combiner Box: The "Traffic Hub" of DC Current — Details Determine Safety
Although the combiner box represents only about 1% of total system cost, 100% of your DC current passes through it. Its safety is absolutely critical.
Core Function:
It combines multiple PV strings into a single output while providing overcurrent, short-circuit, and surge protection for each string. Internal components typically include DC fuses, surge protective devices (SPDs), circuit breakers, and anti-reverse diodes.
Selection Criteria:
-
Electrical Matching: Rated voltage and current should have sufficient headroom to handle the system's maximum values.
-
Ingress Protection: For outdoor installations, choose a rating of IP65 or higher for dust and water resistance.
-
Protection Features: Ensure the unit includes overcurrent, short-circuit, and lightning/surge protection.
Installation and Inspection Tips:
-
Location: Like the inverter, keep it out of direct sunlight and ensure ventilation.
-
Wiring: All connections must be secure, weather seals intact, and the enclosure reliably grounded.
-
Visual Checks: During routine inspections, look for unusual odors, loose terminal connections, or discoloration that might indicate overheating.
Lesson 4: Why Does "After Installation" Mark the True Beginning of Service?
All of this specialized knowledge is difficult to master without years of industry experience. And yet, these very details determine the fate of your system for the next two decades.
That's exactly where CNLONQ comes in.
We understand that a good PV system is not just a stack of equipment — it's a marriage of thoughtful design and a commitment to long-term care.
At CNLONQ, we don't just see ourselves as equipment suppliers. We are your long-term partners:
-
Free Turnkey System Design: Whether your priority is maximum generation, roof aesthetics, or heat insulation, our engineering team customizes an optimal solution — matching mounting structures, panels, inverters, and combiner boxes to your electricity bills, roof characteristics, and local weather patterns.
-
Installation Training: Handover isn't the endpoint. Our engineers walk you through the monitoring app and provide a clear, easy-to-follow Daily Self-Checklist.
-
Full Lifecycle Maintenance Support: We offer scheduled inspection reminders and a professional after-sales team ready to respond. From the dust on your panels to the integrity of your connections — we've got you covered.
At CNLONQ, "worry-free" isn't just a slogan — it's a promise that extends from the first line on the design blueprint to a cleaning service performed a decade after grid connection.
Final Thoughts
Clean energy is undoubtedly the future. But only scientifically sound selection, professional installation, and consistent maintenance can turn sunlight into real, tangible savings on your electricity bill.
Stop stressing over declining generation — and stop worrying about complex electrical jargon.
If you're ready to embrace solar power, or have questions about your existing system, feel free to reach out anytime.
All you need to focus on is enjoying the benefits of clean, green electricity. Leave the design, selection, and ongoing maintenance to us.
📧 For a custom system design or maintenance consultation: sales@cnlonq.com
CNLONQ — Making Every Ray of Sunlight Work Precisely for You.